Pages

Showing posts with label Typewriter. Show all posts

September 10, 2013

Reimagined Monday: It's A Sign of True Love!

(ON TUESDAY!)

Yesterday was such a busy day that we didn't get a chance to publish our Reimagined Monday post --  BUT this one is so darned fabulous that we just can't wait another week to share it!

Wedding season is always so much fun for us in our events division, but it can be hectic as well with not a lot of time to take pictures. That's why our lovely customer Melanie gets a big high five for managing to squeeze a few in as she worked through her wedding decor project.

After seeing a similar sign on Pinterest, Melanie designed her own take on it for her daughter's wedding last weekend.  Our bet is that everyone was wowed by it!


Melanie wrote, "I used the milk paint in typewriter on the plywood then mixed a wash with the milk paint and the chalk paint in old white to get the grey effect. Letters done in old white chalk paint and finished off with clear wax."

Here's the photo play-by-play!


Melanie used her Cricut to cut each letter out of card stock.


Melanie said her daughter loved it.  So do we!  

Thank you for sharing this with us, Melanie -- and CONGRATULATIONS to the happy couple!


Don't forget to enter our monthly contest for your chance to win!

Here's the info:

Reimagined Monday Draw
We would like to highlight more customer projects!  Send us your before/during/after pictures and tell us about your creative process using Chalk Paint™ or Milk Paint and you'll be entered into our monthly Reimagined Monday draw.

Each month we will give away a different item like paint, brushes, books, supplies, gift certificates and more. You don't have to be featured to be eligible... the month you enter is the month you will be included in the draw.

Send your name, pictures and story to:
info@appleboxboutique.com for your chance to win!

, 
Apple Box Boutique
_______________________________________
We'd LOVE it if you shared our blog:

October 22, 2012

Reimagined Monday: If Milk Paint Freaks You Out...

Marian Parsons, aka Miss Mustard Seed, is nothing if not open and honest -- if you read her blog you know exactly what I mean, and if you don't, it's a great place to visit.  Today's Reimagined Monday entry is no exception as Marian takes us through the process of working with MMS Milk Paint as she reimagines a beautiful antique wardrobe.

Taking the worry out of working with this traditional style paint and aptly titled, here is Marian's project, compiled from several posts on her blog...http://missmustardseed.com/wp-content/uploads/2012/05/MMS_Divider.png

If Milk Paint freaks you out…

…this post may help prevent that.  Hopefully.

Let me start by saying that I love Milk Paint and I’m currently selling Milk Paint under my own brand.  That doesn’t mean that I think everyone else will love Milk Paint as much as I do or that I think it’s perfect for every painting situation.  I love it, but I can love it realistically.  So, when people tell me they are scared to try it, I understand.  It comes in powder form, which is different.  It has a different texture, which is…well…different.  It doesn’t behave the way modern paints do.  All of those things can freak people out.  BUT, it’s an amazing paint.  Everything that makes it different also makes it special.

I think the key to loving Milk Paint is understanding it.  I think it might help to show a piece in progress, so when your milk paint starts to look different from the other paints you’re used to, you don’t freak out.

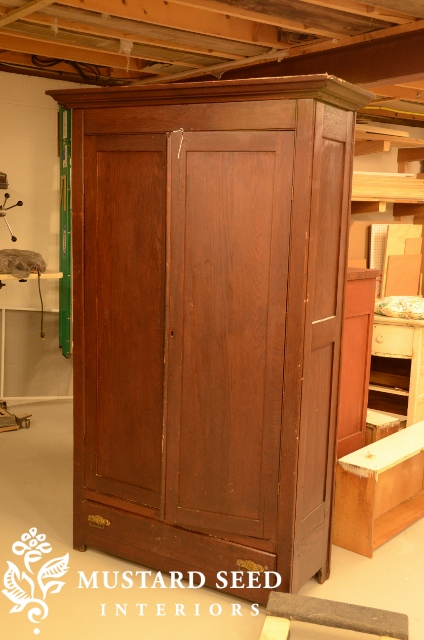
This is my subject.  A 100+ year old wardrobe.  She’s a beauty.


One of my readers sent an amazing picture to me showing a fireplace surround she painted in Tricycle, Typewriter, then Shutter Gray.  It looked amazing, so I’m ripping her off.  :)  I told her I was and I’ll show you the piece she sent me.  (By the way, she doesn’t have a blog or I would link to her.)

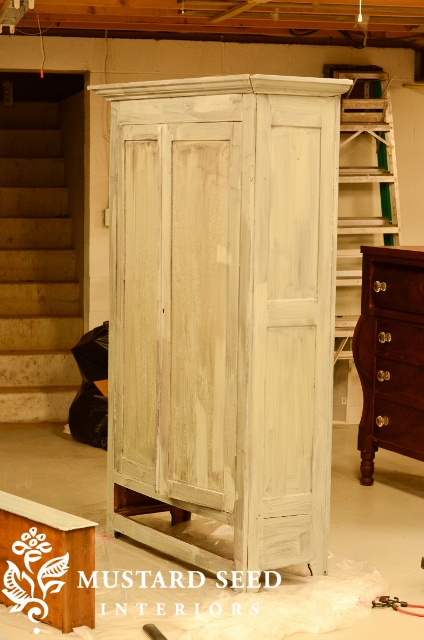
Anyway, here is how the piece looked with one coat of Tricycle.  I decided not to paint the door panels, since I’m going to paint those in Grain Sack and they won’t get distressed a lot.  I did add the bonding agent, because I didn’t want chipping.


I used a fairly thin coat, since the final color isn’t going to be Tricycle.


I then painted on a thin coat of Typewriter over the Tricycle, again leaving the door panels unpainted.


…and now Shutter Gray…


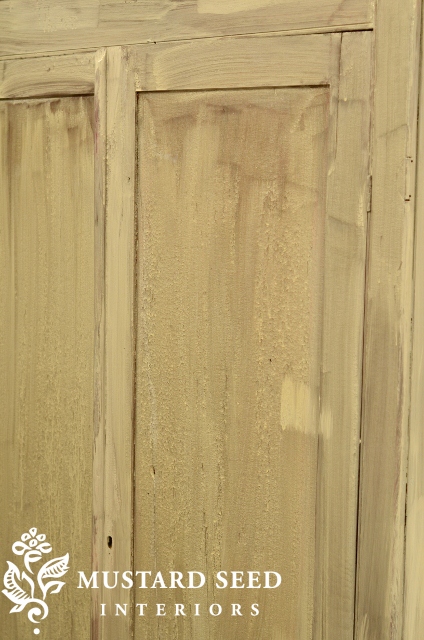
See.  This is the stage of the game where some people might freak out.  It looks streaky.  The finish is uneven.  I’ve said it before…there is almost always a point as I’m working on a piece of furniture when I hate it and want to haul it to the closest thrift store just to get it out of my sight.  I resist that urge, though, knowing it’s going to look amazing in the end.


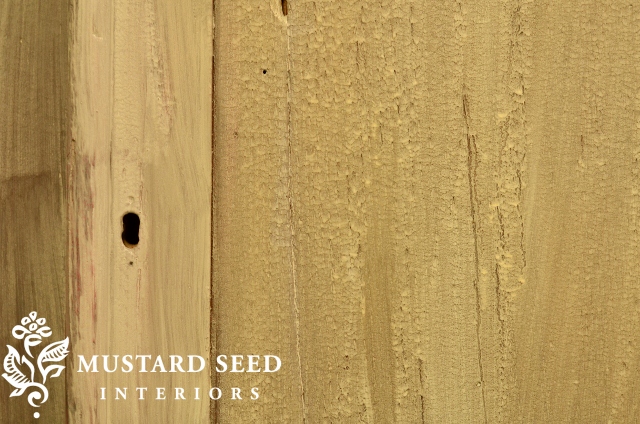
Now, I have no idea how this cool texture happened.  It looks like crackling, but it’s smooth.  That’s just how it happened and I’m sort of digging it.  It just goes to show how unexpected furniture painting can be.  I am afraid I’m going to lose it with the second coat, but we’ll see.


So, if you’re working on a piece and it looks like this about halfway through, don’t fret.  It’s going to look much, much better once it’s done.  Just get through the ugly stage.


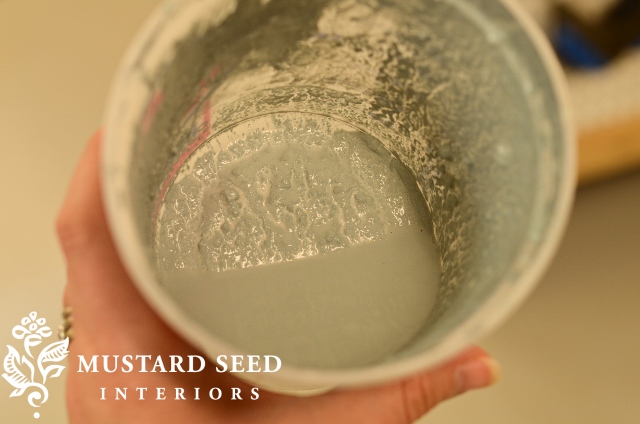
I also wanted to show what the paint I was using looked like.  This is paint that was mixed up about ten days ago with the bonding agent added.  I left it sitting on my workbench covered with plastic wrap.  It was thick and the pigment was separated, but I added more water and stirred it around.


 It was a little lumpy, but went on smooth.


So, if your paint looks like this, it’s okay.  If latex paint looks like this, something is wrong, but it’s okay for Milk Paint to look a little funky.  Just remember it’s different.  And the differences are what make it a great paint.

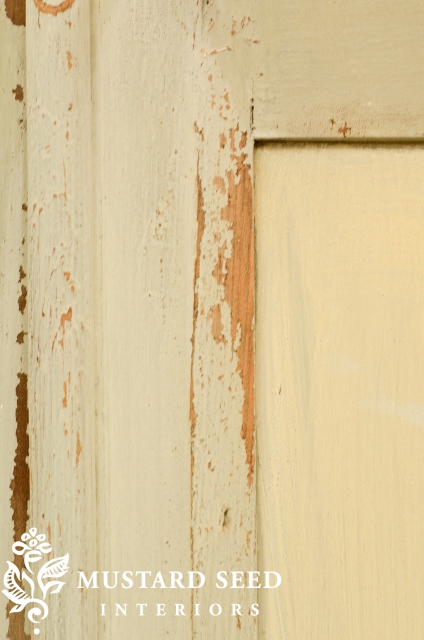
I applied a second coat of Shutter Gray Milk Paint and painted the door panels and side panels in Grain Sack.  It doesn’t look a lot like Grain Sack, though, because some yellow from the original wood seep through  That doesn’t have anything to do with the Milk Paint, but the piece of furniture.


If it really bothered me, I could seal it with poly and paint it over again, but it doesn’t bother me in this case.  I then sanded the finish with a fine grit sanding sponge…


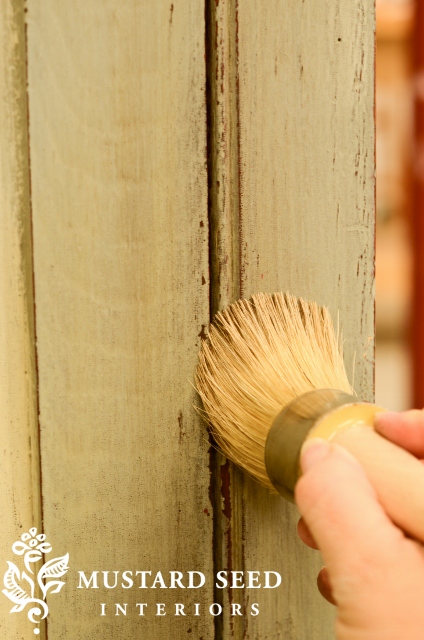
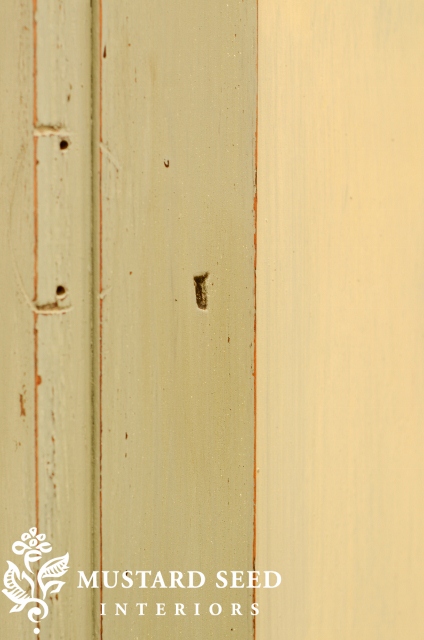
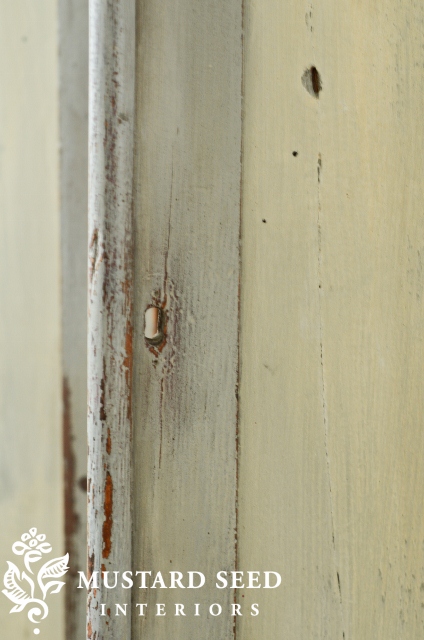
…then a medium.  With a fine sanding sponge, I was able to wear away some of the paint to reveal the layers underneath.  It’s very subtle, but looks great.


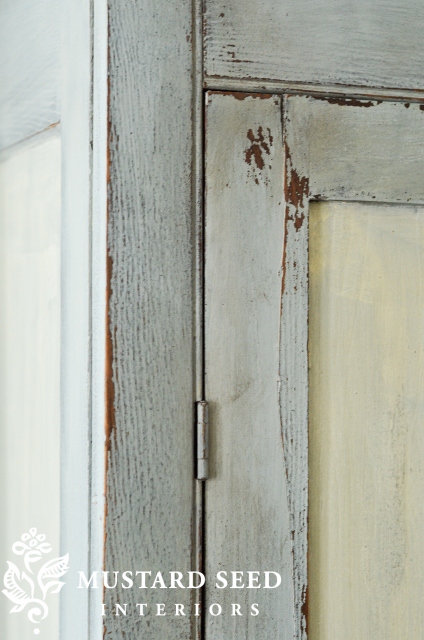
I used the medium grit sanding sponge to scrape away some of the paint.  I did get some chipping, but that’s because the finish underneath chipped and took the Milk Paint along with it.  Again, I just went with it.


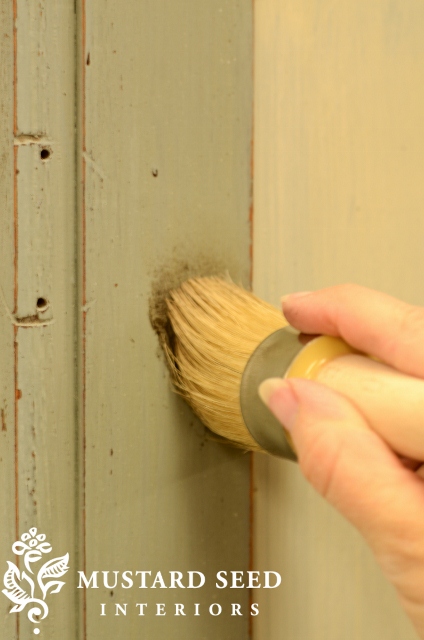
Distressing really brought out the character in the old wood.  I then waxed the piece in Furniture Wax followed by the Antiquing Wax, which settles in the nooks and crannies, but isn’t too heavy.


I especially worked it into little holes and grooves….


 …and wiped away the excess, leaving the Antiquing Wax just in the recesses.


Here it is…


 I purchased this wardrobe from an antique furniture store and it was beautiful to begin with, but it felt very dark and heavy.  The wood was also not in the greatest condition, so I didn’t feel too bad about painting it.  This one is an oldie.  It was originally a wardrobe that would easily break down into flat parts, so it could be moved in the days before we had U-Hauls at the ready.  Someone glued/screwed it all together at some point, though.


This is the fireplace surround that was my inspiration for the finish…

Mary and her husband painted it in Tricycle, followed by Typewriter and lastly Shutter Gray.  I love the layering and how the distressing and the antique wax made this surround look authentically aged.  It’s just gorgeous.  (And speaking of gorgeous finishes…check out the corner of the table shown on the far left of the before picture!)

I used the same paint colors on my piece, except I added Grain Sack in the door and side panels.


You can just see hints of red and black in the distressing…


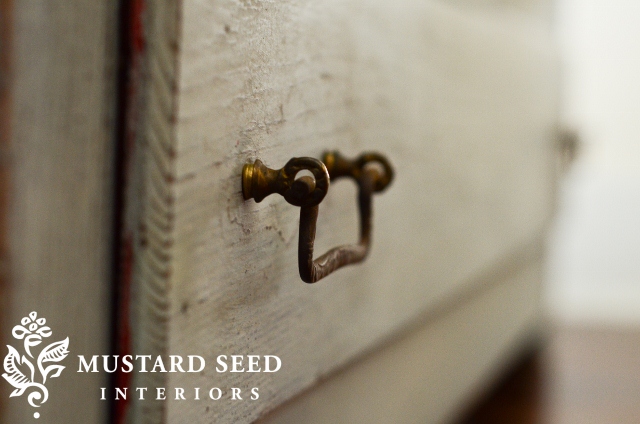
I kept the original hardware, but removed the back plates, which looked a bit too ornate for the piece in my opinion.


I really love how this piece turned out.


I hope walking you through the process of painting and finishing this wardrobe will make you a bit more comfortable with giving Milk Paint a try!
http://missmustardseed.com/wp-content/uploads/2012/05/MMS_Divider.png
,  
Apple Box Boutique
_______________________________________
We'd LOVE it if you shared our blog:

October 12, 2012

The Colours Behind The Inspiration: Miss Mustard Seed's Milk Paint

'The colours behind the inspiration' are those in Miss Mustard Seed's new line of designer Milk Paints and we are very happy to announce that all twelve are currently in transit to Apple Box Boutique.

We have been eagerly awaiting its arrival, and are SO excited that in just a few days all of us will be able to bring that inspiration to life!

We have a feeling this first order won't last long so we've made the full line of Milk Paint available for purchase in The Apple Cart, our online shop. That way all of our out-of-town customers can dream in colour too!

Watch our next Reimagined Monday blog for Miss Mustard Seed's final paint colour reveal project.

In the meantime we thought we would share the piece in our studio that has been awaiting its MMS Milk Paint transformation:


We'd love to know what your first project will be.

Don't keep us in suspense... what will you be painting?

,  
Apple Box Boutique
_______________________________________
We'd LOVE it if you shared our blog:

August 11, 2012

Our Big News: Pre-Order Miss Mustard Seed's Milk Paint!

Over the last week we have been featuring projects by Miss Mustard Seed using her beautiful new milk paint and your enquiries have been pouring in.

The biggest question has been, "when will it be in the boutique?" There is so much anticipation about rushing in to get some before the first shipment sells out that we asked for the green light to do something new... and today we get to share the happy news!

Are you ready?  We are!...


Yes! Starting today we will be offering Miss Mustard Seed's Milk Paint to our customers before it is even on the shelves!

We couldn't be more excited!!! 
 
Visit our website at
www.appleboxboutique.com
and select Miss Mustard Seed's Milk Paint from the Shop Online menu.
or


Click here to be the first to be notified of our upcoming milk paint classes! 

,
Apple Box Boutique
_______________________________________
We'd LOVE it if you shared our blog:

August 10, 2012

Miss Mustard Seed's Milk Paint Reveal - Day 5

It's day 5, the last in our week of Miss Mustard Seed's Milk Paint reveals!  Today we will feature two more colours, bringing the grand total to 8 of the 12 this designer line will launch with.

Why just 8, you ask?  Because the focus of our reveal series was to share real-world projects using the paint, and Miss Mustard Seed is diligently working away on the other 4.  Oh, the anticipation!

In the meantime, lets get straight to it!

We thought we would wait until today to show you the very first colour created and then the most recent colour to have been photographed, and at the end of this post we'll give a sneak-peek of the final four colours!

As Miss Mustard Seed herself would put it, "Say Hello To..."

Shutter Gray

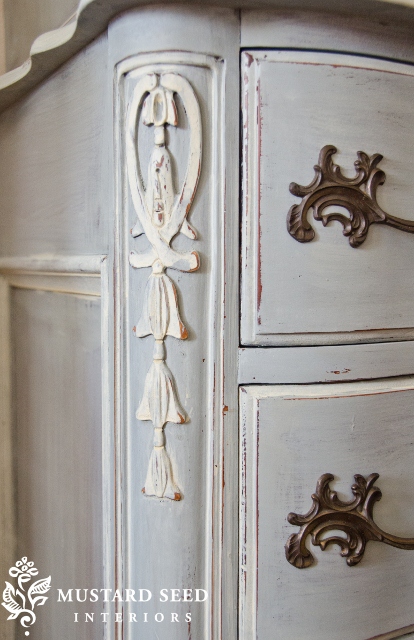
Shutter Gray was the first colour in Miss Mustard Seed's Milk Paint line. Just a touch of blue makes this a lovely cool grey, reminding Marian of a perfect set of chippy grey shutters she owns and loves.

http://missmustardseed.com/wp-content/uploads/2012/05/038-copy-426x640.jpg

The test piece is this French dresser -- gorgeous lines but very orange!


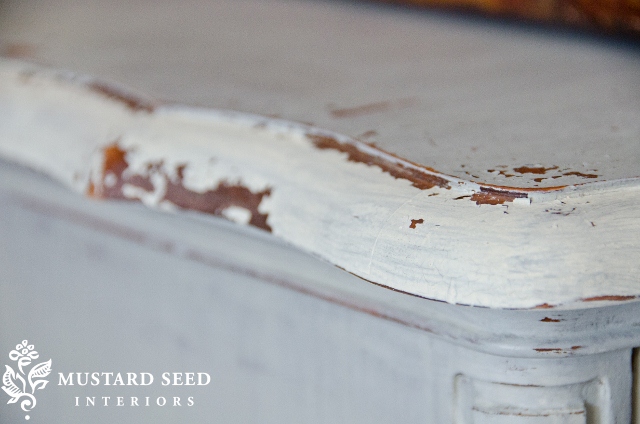
One of the coolest things about Miss Mustard Seed's Milk Paint is that you can leave the bonding agent out of the mix, allowing the painted piece to chip and 'wear' naturally.

It doesn't happen every time, in fact it can be downright unpredictable and not chip at all. We know this isn't for everyone, but for folks like us at Apple Box Boutique it is like Christmas... after painting, hit the sheets and wake up the next morning to some glorious shabby chicness!

Like this...

Oooooo... the perfect amount of distressing, au natural!


We are loving Shutter Gray!

Next up... as promised, the latest Miss Mustard Seed Milk Paint reveal project to be completed.

Be still my vintage-loving heart!  Here comes...

Kitchen Scale


Miss Mustard Seed wrote:

"Here’s how this piece started…

Yeah, it’s hard to believe it’s the same piece, isn’t it?

Here’s why I named the color Kitchen Scale…


The color isn’t exactly the same.  My aqua has more green in it, but this scale was my inspiration.


I love how this paint finish turned out.  It only chipped in a few small places, but the entire finish had this wonderful texture.  You can see it if you look closely…


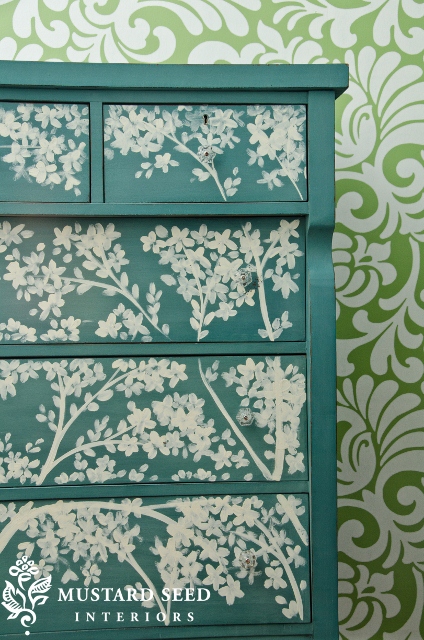
I decided to jazz up the dresser with some branches and blossoms.  I’ve enjoyed the decorative painting I’ve done lately and it seemed fitting for this piece.  It’s a very petite dresser, so it’s perfect for a little girl’s room or guest room.


It chipped just a little bit around one of the knobs.


Since it’s a busy pattern, I kept the decorative painting to the drawer fronts only."


OKAY!  We can breathe again ;)

If the first 8 colours look this fantastic, just imagine how the final 4 will look life-sized:

Recap
If you missed our posts fetauring the other colour reveals, here they are…


This is so much fun, and we are really excited to have you along for the fun!
If you like what you've been seeing this week, stop in at On The Apple Box again tomorrow for another big announcement!

[ Insert squeals of delight ]... We can hardly wait!!!

Click here to be the first to be notified of our upcoming milk paint classes! 

,
Apple Box Boutique
_______________________________________
We'd LOVE it if you shared our blog:

Please Share This