

Taking the worry out of working with this traditional style paint and aptly titled, here is Marian's project, compiled from several posts on her blog...

If Milk Paint freaks you out…
…this post may help prevent that. Hopefully.
Let me start by saying that I love Milk
Paint and I’m currently selling Milk Paint under my own brand. That
doesn’t mean that I think everyone else will love Milk Paint as much as I
do or that I think it’s perfect for every painting situation. I love
it, but I can love it realistically. So, when people tell me they are
scared to try it, I understand. It comes in powder form, which is
different. It has a different texture, which is…well…different. It
doesn’t behave the way modern paints do. All of those things can freak
people out. BUT, it’s an amazing paint. Everything that makes it
different also makes it special.
I think the key to loving Milk Paint is
understanding it. I think it might help to show a piece in progress, so
when your milk paint starts to look different from the other paints you’re used to, you don’t freak out.
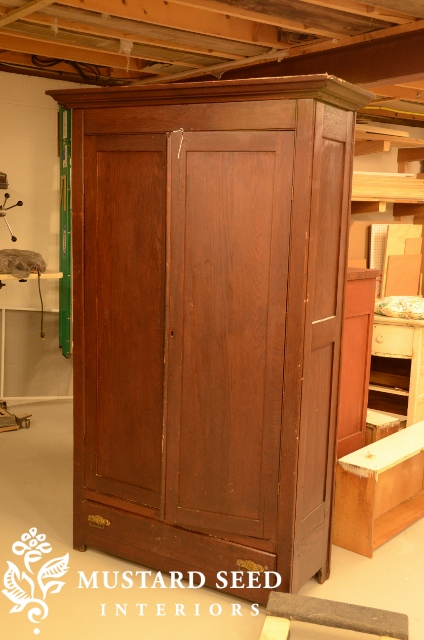
This is my subject. A 100+ year old wardrobe. She’s a beauty.
One of my readers sent an amazing picture
to me showing a fireplace surround she painted in Tricycle, Typewriter,
then Shutter Gray. It looked amazing, so I’m ripping her off. :) I
told her I was and I’ll show you the piece she sent me. (By the way,
she doesn’t have a blog or I would link to her.)
Anyway, here is how the piece looked with
one coat of Tricycle. I decided not to paint the door panels, since
I’m going to paint those in Grain Sack and they won’t get distressed a
lot. I did add the bonding agent, because I didn’t want chipping.

I used a fairly thin coat, since the final color isn’t going to be Tricycle.

I then painted on a thin coat of Typewriter over the Tricycle, again leaving the door panels unpainted.

…and now Shutter Gray…
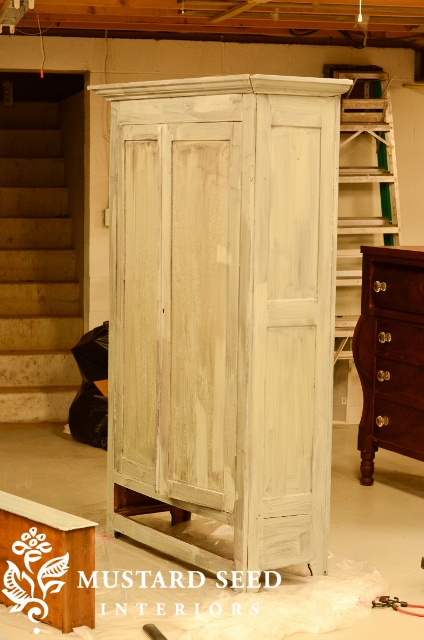
See. This is the stage of the game where
some people might freak out. It looks streaky. The finish is uneven.
I’ve said it before…there is almost always a point as I’m working on a
piece of furniture when I hate it and want to haul it to the closest
thrift store just to get it out of my sight. I resist that urge,
though, knowing it’s going to look amazing in the end.

Now, I have no idea how this cool texture
happened. It looks like crackling, but it’s smooth. That’s just how
it happened and I’m sort of digging it. It just goes to show how
unexpected furniture painting can be. I am afraid I’m going to lose it
with the second coat, but we’ll see.
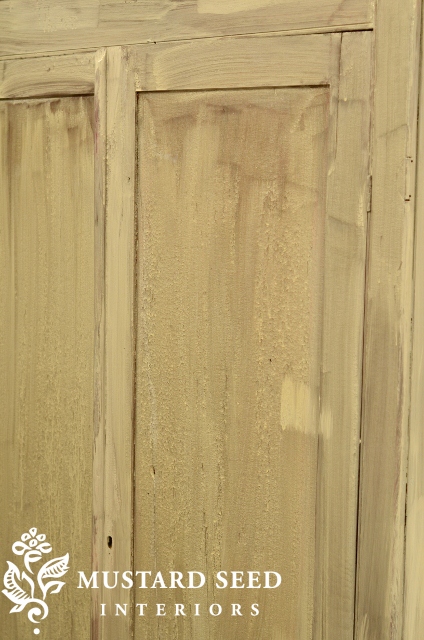
So, if you’re working on a piece and it
looks like this about halfway through, don’t fret. It’s going to look
much, much better once it’s done. Just get through the ugly stage.
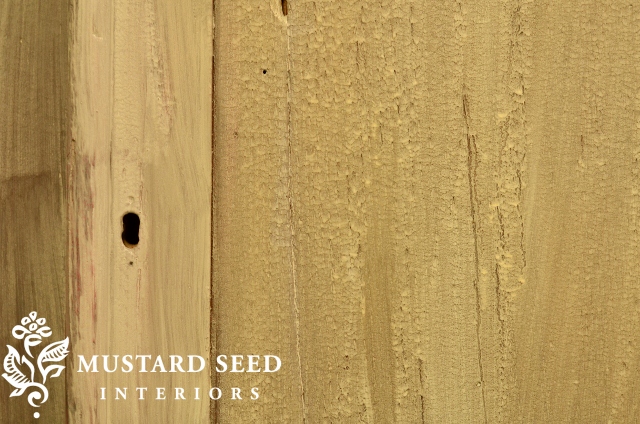
I also wanted to show what the paint I
was using looked like. This is paint that was mixed up about ten days
ago with the bonding agent added. I left it sitting on my workbench
covered with plastic wrap. It was thick and the pigment was separated,
but I added more water and stirred it around.

It was a little lumpy, but went on smooth.
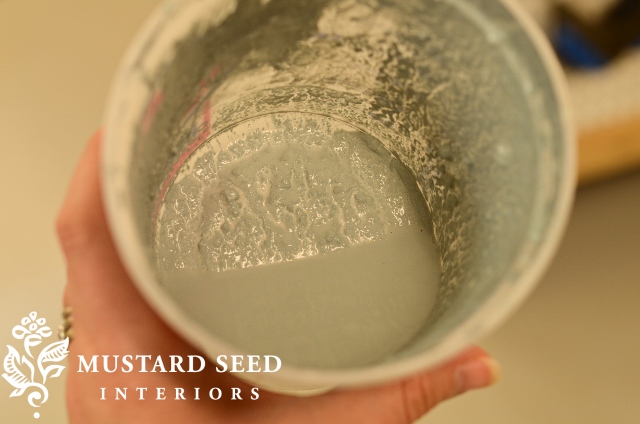
So, if your paint looks like this, it’s
okay. If latex paint looks like this, something is wrong, but it’s okay
for Milk Paint to look a little funky. Just remember it’s different.
And the differences are what make it a great paint.
I applied a second coat of Shutter Gray
Milk Paint and painted the door panels and side panels in Grain Sack.
It doesn’t look a lot like Grain Sack, though, because some yellow from
the original wood seep through That doesn’t have anything to do with
the Milk Paint, but the piece of furniture.

If it really bothered me, I could seal it
with poly and paint it over again, but it doesn’t bother me in this
case. I then sanded the finish with a fine grit sanding sponge…

…then a medium. With a fine sanding
sponge, I was able to wear away some of the paint to reveal the layers
underneath. It’s very subtle, but looks great.
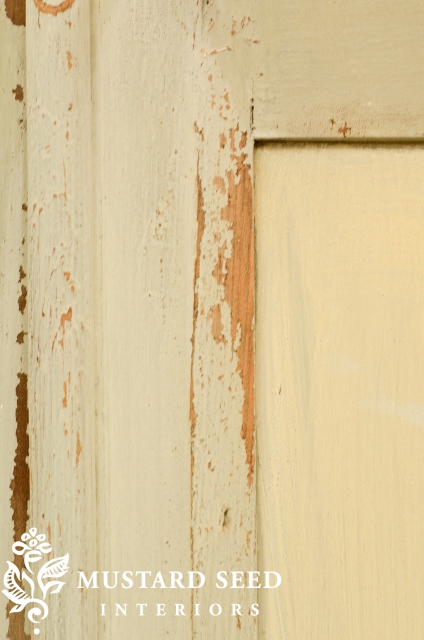
I used the medium grit sanding sponge to
scrape away some of the paint. I did get some chipping, but that’s
because the finish underneath chipped and took the Milk Paint along with
it. Again, I just went with it.

Distressing really brought out the
character in the old wood. I then waxed the piece in Furniture Wax
followed by the Antiquing Wax, which settles in the nooks and crannies,
but isn’t too heavy.
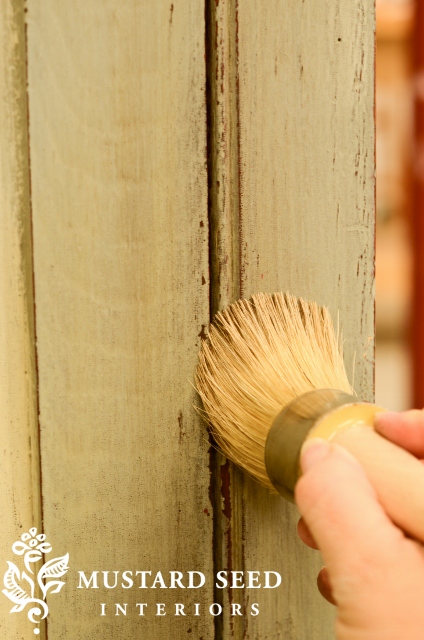
I especially worked it into little holes and grooves….
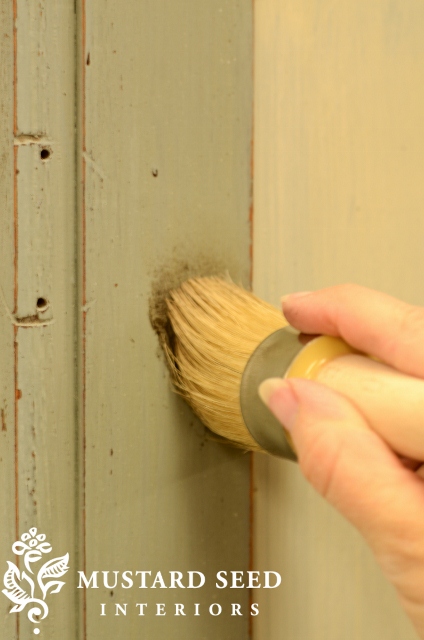
…and wiped away the excess, leaving the Antiquing Wax just in the recesses.
Here it is…

I purchased this wardrobe from an antique furniture store and it was
beautiful to begin with, but it felt very dark and heavy. The wood was
also not in the greatest condition, so I didn’t feel too bad about
painting it. This one is an oldie. It was originally a wardrobe that
would easily break down into flat parts, so it could be moved in the
days before we had U-Hauls at the ready. Someone glued/screwed it all
together at some point, though.
This is the fireplace surround that was my inspiration for the finish…

Mary and her husband painted it in
Tricycle, followed by Typewriter and lastly Shutter Gray. I love the
layering and how the distressing and the antique wax made this surround
look authentically aged. It’s just gorgeous. (And speaking of gorgeous
finishes…check out the corner of the table shown on the far left of the
before picture!)
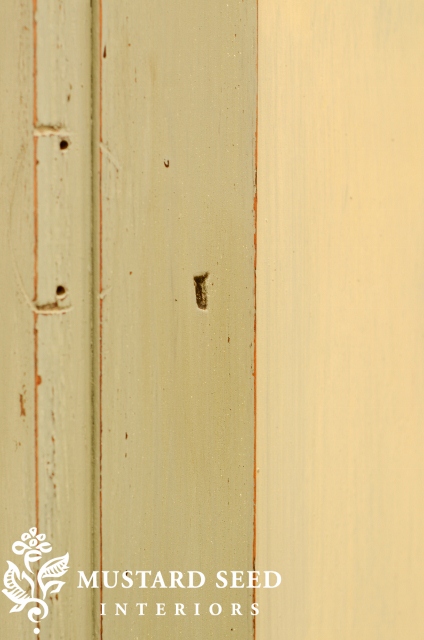
I used the same paint colors on my piece, except I added Grain Sack in the door and side panels.

You can just see hints of red and black in the distressing…
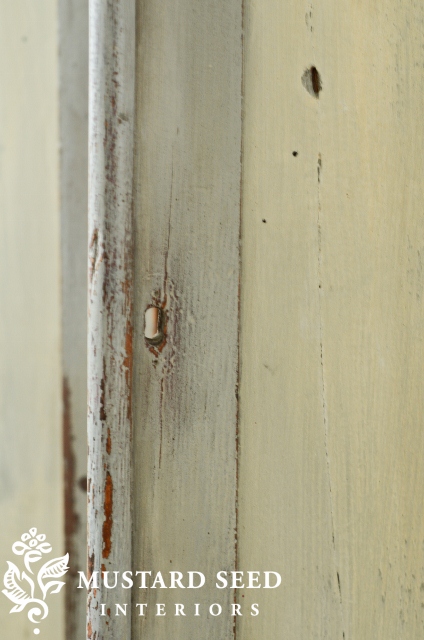
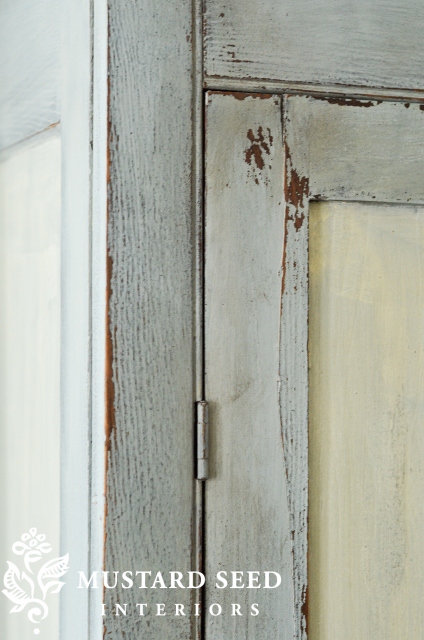
I kept the original hardware, but removed the back plates, which looked a bit too ornate for the piece in my opinion.
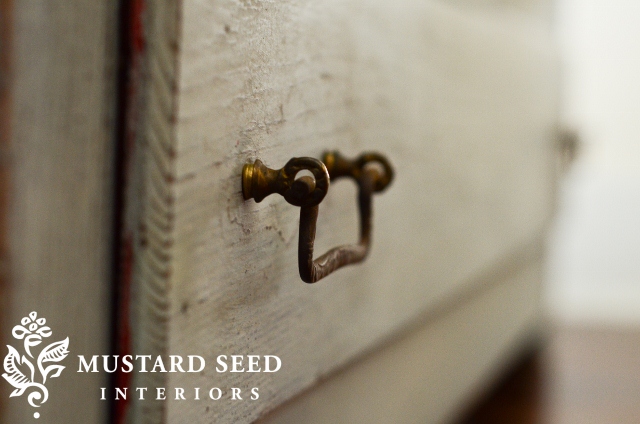

I really love how this piece turned out.

I hope walking you through the process of
painting and finishing this wardrobe will make you a bit more
comfortable with giving Milk Paint a try!
♥,
Apple Box Boutique
_______________________________________
We'd LOVE it if you shared our blog:


No comments:
Post a Comment
Your comments are welcome!